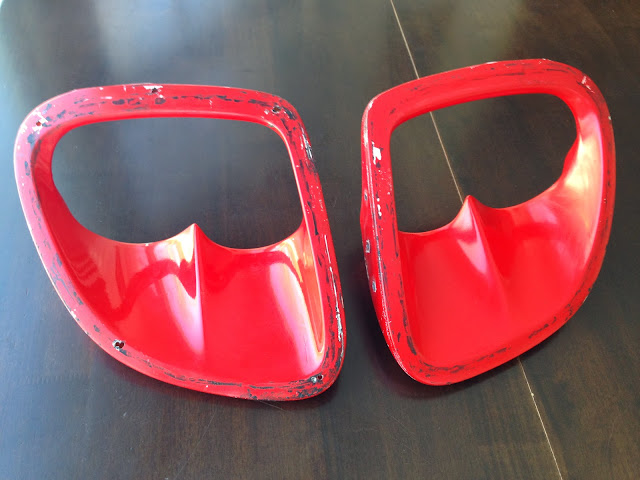
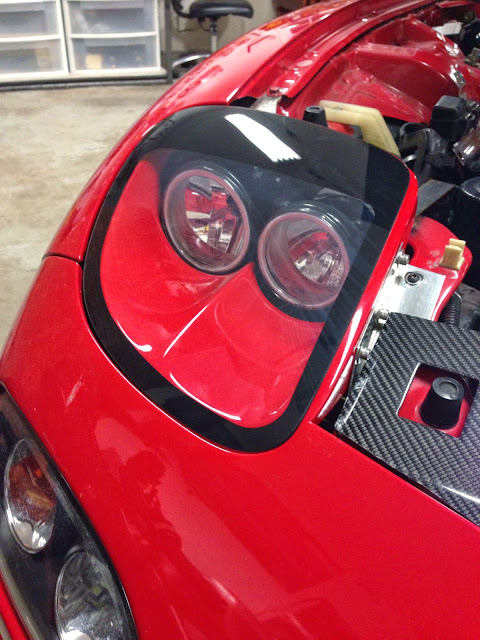
Since i was in 高等学校 i have always wanted to learn how to paint cars and car parts. I think mainly because that was when i had my 1995 Honda Civic Si that was black and i wished i could paint it a different color, like red. I was also into body kits at the time, and i wished i could just paint the parts myself rather than take the car to a body shop to have them paint the parts for me. Unfortunately, i never got around to learning for many reasons including cost, location, knowledge, etc. However, since i got my new FD, i've been going back and forth between having a body shop paint and install everything, or finally learn how to do it myself. My thought process went from finding a body shop to paint and install everything, to my doing the install myself and just having the body shop paint the parts for me, to just painting and installing everything myself. I think the turning point was back in February, when i remove my headlight housings so that i could find a body shop to repaint them and repair some holes for me. I figured i would use my headlight housings as a test run to find a good shop that i could ultimately have paint my body kit when it arrived. Here are what the housings looked like when i first removed them. Notice the right housing has holes in it that i was looking to patch.
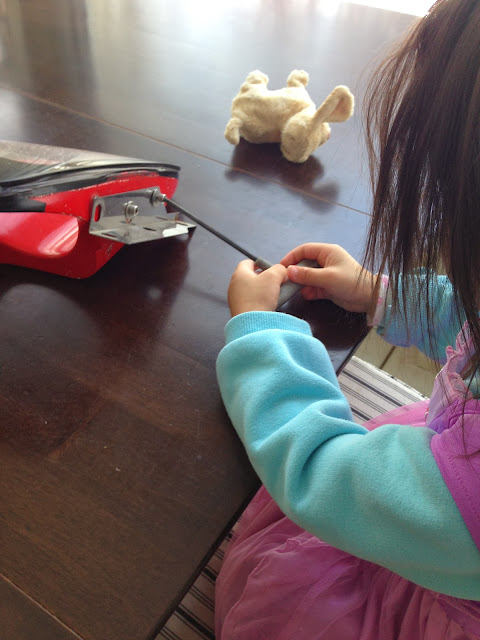
Here's アイザックくん and ナオミちゃん helping me with the disassembly of the headlights
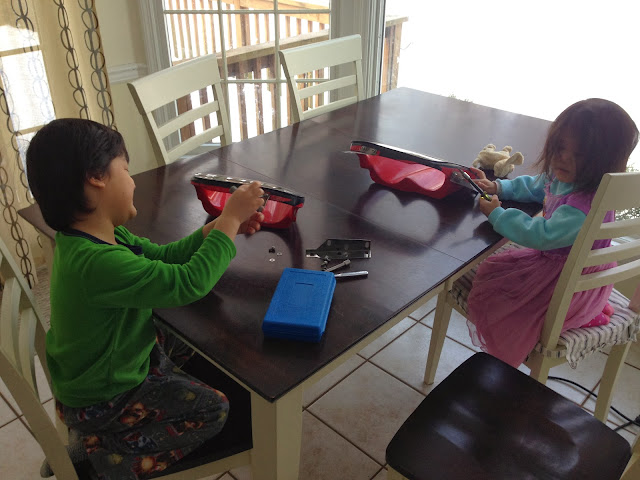
They actually did a very good job taking out all of the bolts for the brackets
So one day, i made some calls and brought the pieces to 3 body shops for a quote. The first shop wanted $500 to repaint just the housings!! So i quickly left there and went to a second place, and they quoted me $250, which was far more reasonable. Then lastly, i went to a third shop just for comparison purposes, and they quoted me $200, and they happened to be the closest one to my house so the next day i dropped off the housings along with the paint code. At the time, the quote i was given was under the assumption that it was a 2-stage paint, meaning just base coat and clear coat. It was only later on that i found out the OEM Vintage Red color was actually a 3-stage paint due to a top coat required between the base and the clear coat, which i know would've easily bumped the cost of the job above the quoted $200. But anyway, about a week after i dropped off the parts, i called the body shop to see how things were going and to find out when i can expect to pick up the finished parts. Shockingly, the owner of the shop told me he hasn't even touched the parts yet and he doesn't think he will be able to get to it for another 2 weeks! (´⊙ω⊙`)!That's when i started thinking, if it's gonna take this guy 3-4 weeks to paint two small headlight housings, how long is it going to take him to paint a full body kit, 6 months?!?! So i told the owner that i was just going to pick up the unfinished parts and find another place to work on them, but in reality, i was thinking that it was finally time for me to learn how to paint. The last thing i wanted was to wait an additional 3-4 months to get my body kit on after having (or continuing to have to) wait 3+ months just to receive it. Plus, i knew that i could live with my own mistakes knowing that i can learn and try again to make it better, but i couldn't live with other people's shoddy work that i paid good money for and waited months to complete. So for the next month i started doing research and buying parts and supplies to paint myself. Luckily, the weather was still freezing, so it's not like i could paint right away anyways.
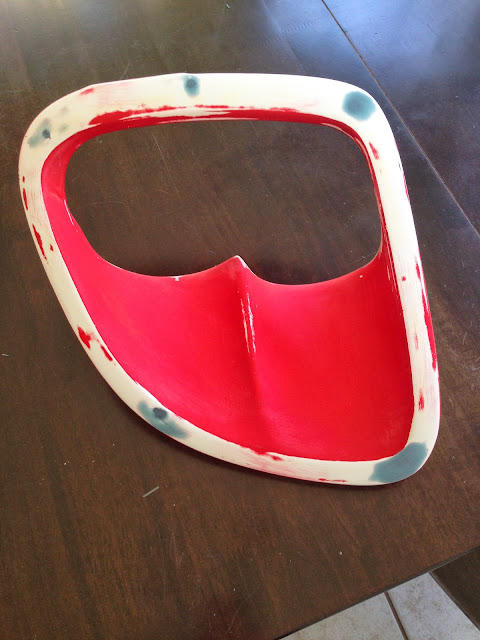
As they say, when it comes to painting, the key to a good paint job is all the prep work leading up to the paint. So the first step was to sand down the housings and fill the holes that i wanted to get rid of.
After about 2-3 days of repairing and sanding (i work slow), it was finally time to prime the parts. I took about a day to prep the garage and get all of my spraying equipment sorted. Since it was my first time painting, i had to familiarize myself with how the spray gun and the turbine HVLP system worked. The first coat of primer went on pretty easy. It was nice to finally see the parts in a uniform color even if it was just a primer grey.
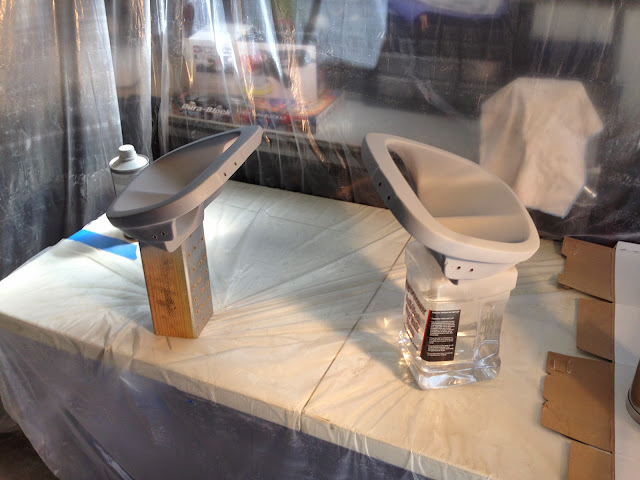
I ended up doing a second coat of primer because i sanded through the first coat on some parts. Next up was the base coat, then the top coat to color match. Here's the base coat layer before the top coat.
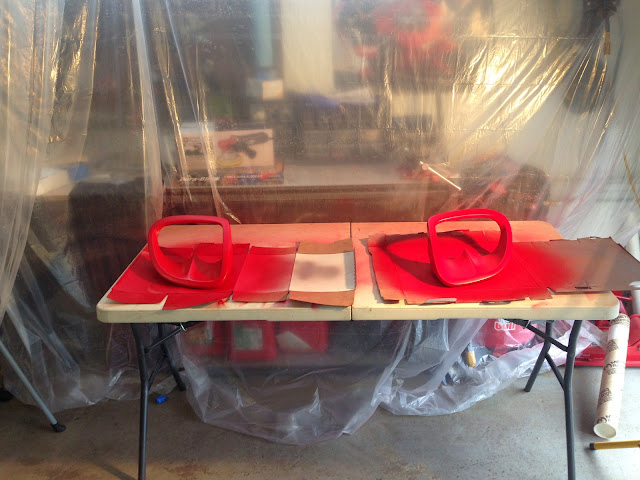
Honestly, i didn't know what the heck i was doing. I just sprayed the top coat on top of the base and hoped the color matched the existing paint. Luckily, i think the color came out pretty close, so i was happy.
In the end, i wasn't ecstatic about the results, but for the headlight housings, i think it was good enough. I didn't even bother sanding the clear because behind the lens cover, you couldn't really tell anyway. Here's a comparison showing the difference in color before and after:
ビフォー
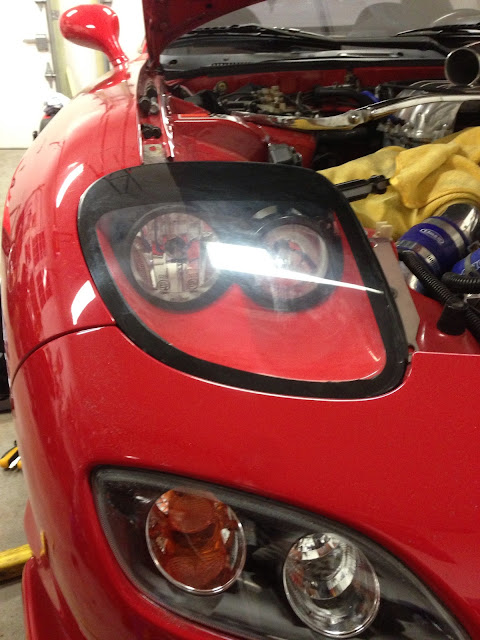
アフター
As you can see, the red from ビフォー doesn't actually match the color of the car. It also helps that i bought new lenses for the headlights so they look much newer in the アフター picture.
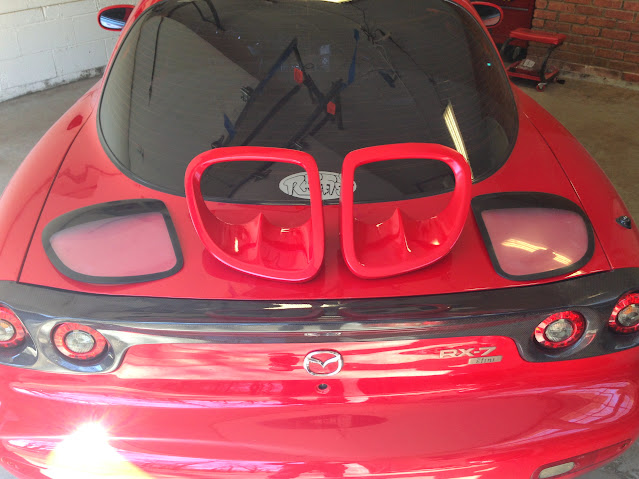
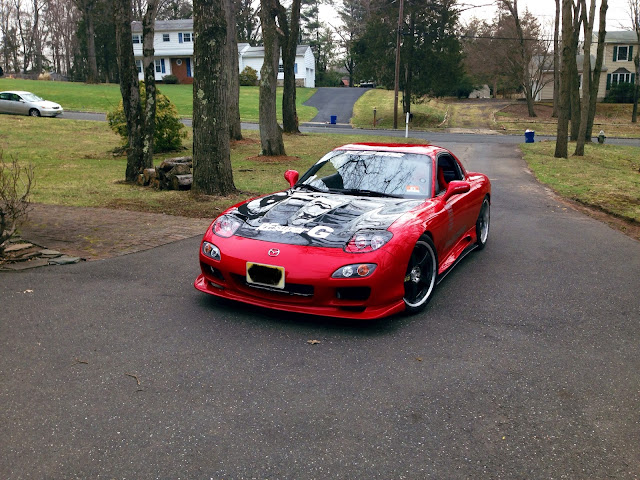
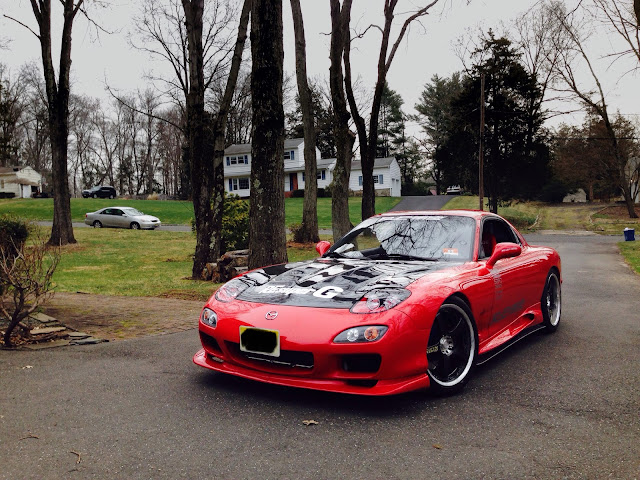
My experiment with the housings is a little inconclusive due to the fact that the shape was so three-dimensional as opposed to a flat surface, so the technique required is very different than it would be for painting a bumper. I think with a little more practice, i should be able to do a good enough job with the body kit that i can install it without feeling too badly. And here are some shots of the headlights back in place:
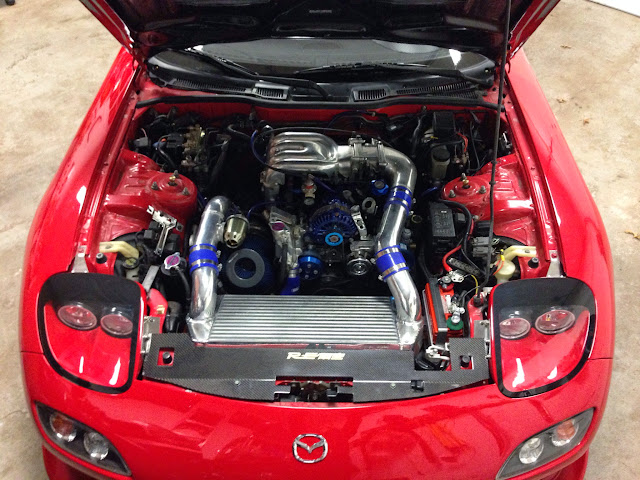
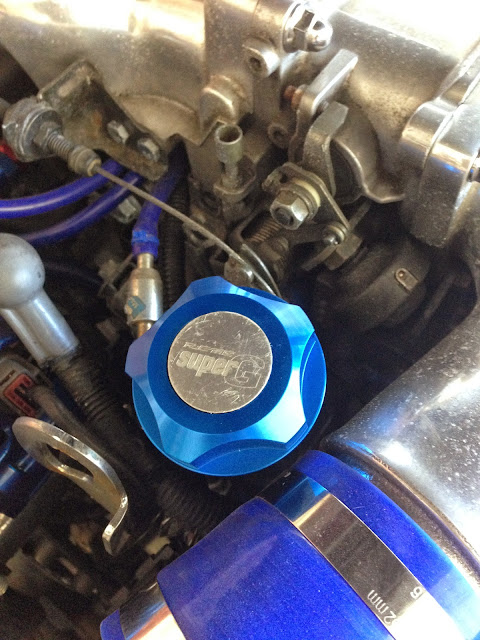
I also finally got around to installing some of my RE雨宮エンジンドレスアップ parts like my radiator caps and my oil filler cap

Only 2 more weeks to go before my body kit arrives!!!!!!!
 ドライブの春


